

If you use the visual constructor Divi, you should know that it is not necessary to install the Revolution Slider!
Revolution Slider, it’s a very powerful plugin, and the Slider from Divi it’s simple. But in most cases, isn’t that enough for us?
The Divi slider has the possibility to add different ‘slides’, texts, buttons, various transition animations, control the times between them, customize the buttons, And on top of that, it is very fast and light!
Let’s explain how to configure it?
Content Summary
- Creating a slider step by step
- Get inspired: Sample sliders
- Tips for having a perfect rotator
How to Create a Full-Width Slider in Divi
#1. Creating a slider step by step


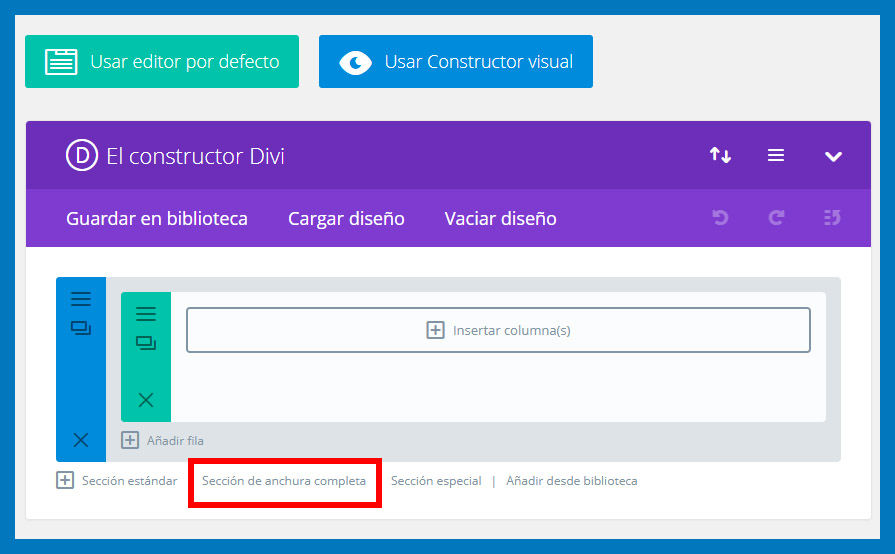
2nd-Insert a Full-width section, as shown in the image given below.

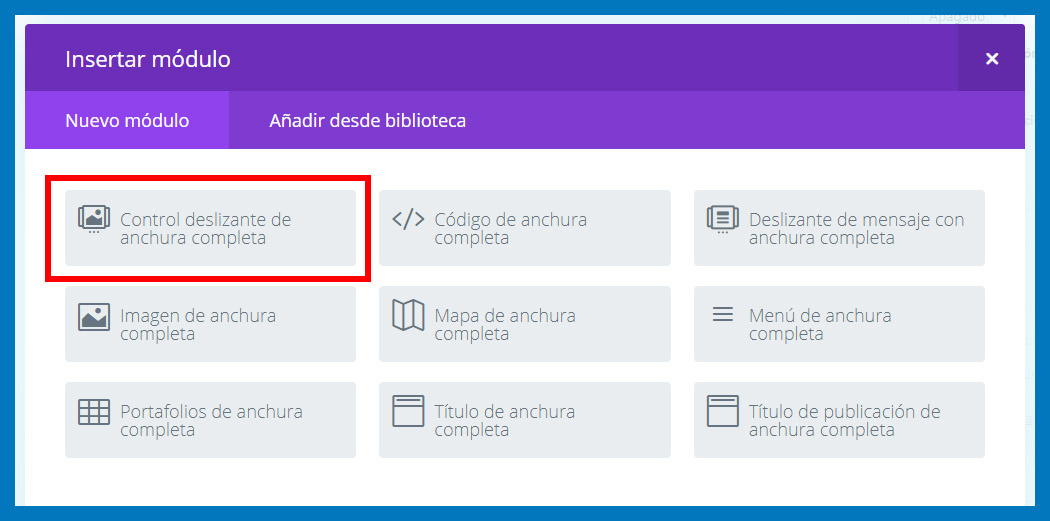
3rd: Now click on Insert module:


4th- From here just choose Acura Slider Complete:

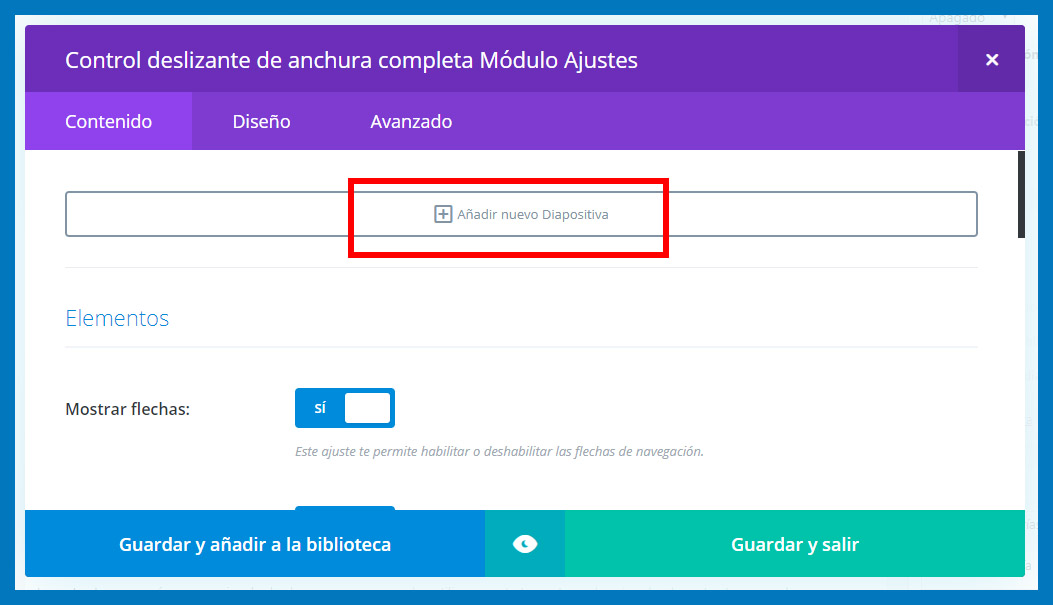
5th- Now we will show the general configuration of the Slider:
- Elements: They are the navigation elements. Those that will allow us to move from one slide to another.
- Link: This option can be used if we want the entire slider to have a hyperlink. If we want to have a button or text on each slide, we can ignore this section.
- Background: Allows us to allocate a global fund to all sliders. It makes sense if the slides are only going to change some elements such as text or buttons, or if the sliders will contain bottomless images (png).
When we have everything to our liking, click on Add new slide:

6th- Now we will create the first slider. The options are quite intuitive:
- Title: The main text of the slide.
- Button text: The call to action that will contain the hyperlink.
- Content: Explanatory or secondary text. Being a text box we can add HTML-CSS to make it a bit more colorful.
- Slide Image-Video: Here we will assign an image or a video to the left. That is, the text and buttons will be aligned to the right and the image or video to the left.
- Button Link URL: The hyperlink of the button.
- Background: The particular background of this slide.
7th- Now just save that slide and repeat the operation as many times as necessary until we create all that is needed.
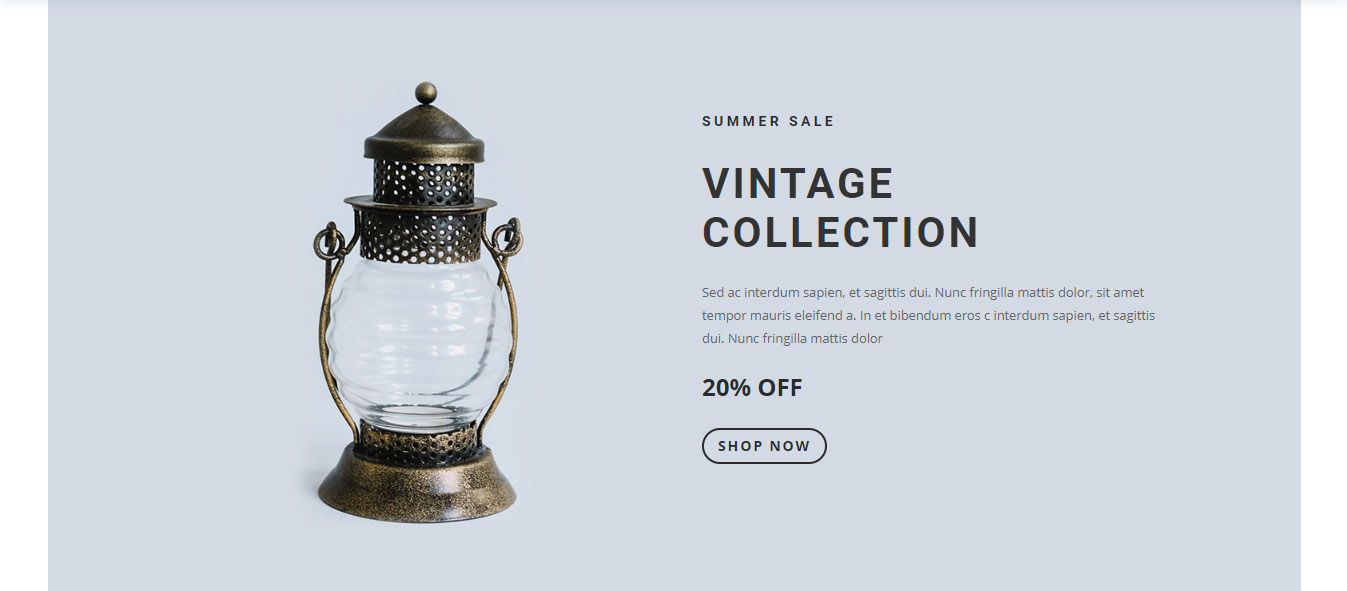
Get inspired: Sample sliders
All these sliders can be downloaded from the Gallery of Predesign Designs from Divi’s own theme:


Tips for having a perfect rotator
- The slider is the first thing your readers will see. Do not miss that opportunity and put your best product with a good image and a clear “call to action”. Put offers, discounts or explain a case with which the reader feels identified.
- If you put several “slides”, remember that the most visible will be the first. Putting several means pretending that the user is going to stay waiting for the pass from one to another. So if you have something very important to say, but not enough to put it in the first slider, it is better to repeat it also under the rotator.
- The images must be impressive, but do not forget that there is even more important text about them. Use images with neutral backgrounds or texts on degraded backgrounds that allow clear reading.
- Do not forget to optimize the images and not abuse the slides, or the rotator can become your enemy by greatly slowing the page load.
- An increasingly important percentage of your readers will come from mobile devices. Do not forget to ask yourself whether or not to hide this element, and in case you decide to show it, that it looks as good as on a desktop.
- The Transitions between slides must be long enough so that the potential client can read the text, but short enough so that the following can be displayed. A little to recreate a little. For this, visual signaling is also very useful: Arrows, pages, etc. that indicate that there is more content behind what is being displayed.

![[WordPress] Remove the search engine from the Divi menu](https://cdn.ahrefly.net/apkvenue/wp-content/uploads/2020/01/23140618/WordPress-Remove-the-search-engine-from-the-Divi-menu.png "How to Remove the search engine from the Divi menu")

![[WordPress] Add external sources to Slider Revolution](https://cdn.ahrefly.net/apkvenue/wp-content/uploads/2020/01/23140546/WordPress-Add-external-sources-to-Slider-Revolution.jpg "WordPress: How to Add external sources to Slider Revolution")


